Minneapolis Kickout Flashing Warning
Kick Out Flashing Contractor Gives Advice on Right Versus Wrong
The Problem:
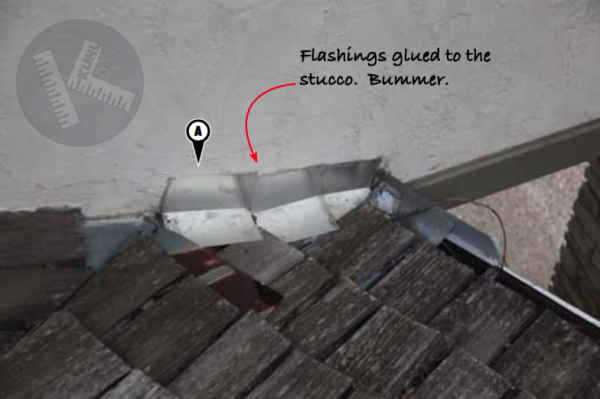
Undoubtedly installing kick out flashings here in the Twin Cities isn’t always as easy as it looks. It’s just a simple piece of sheet metal, after all. To the misfortune of many area homeowners, their contractors, handy-guys and husbands frequently underestimate the complexity of these small projects resulting in some serious problems. The work shown here (A) is a perfect example of how good enough won’t cut it when it comes to installing kick out flashings into stucco. Not seen is the rotten stucco wall directly below this new flashing work. This homeowner’s handyman installed aluminum flashings under the cedar shake roofing (good) but installed the flashings against the stucco wall (bad). Undeniably kick out flashings need to be installed behind siding materials. No exceptions.

The Solution:
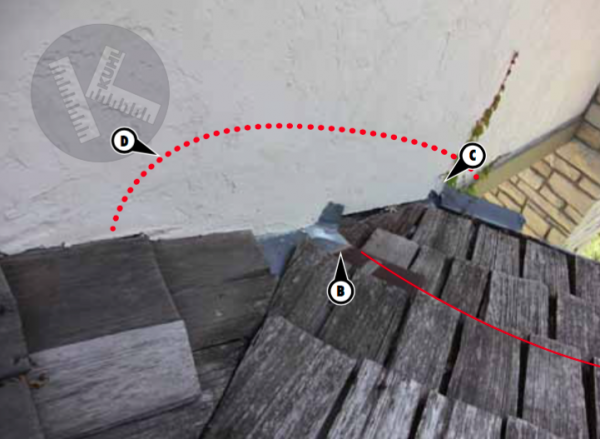
We installed two separate kick out flashings in this stucco wall; one at the base of the valley (B) and one at the lower edge of the roof (C). To do this we removed the area of stucco indicated by the dashed line (D). Installing kick outs in existing stucco walls is challenging mostly in that getting the best match of color and texture possible is sometimes a real pain. Can you see the patch in this area?


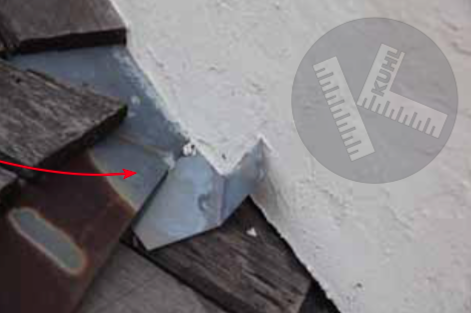
The new kick out flashing was installed under the existing valley flashing and behind the new stucco patch.

